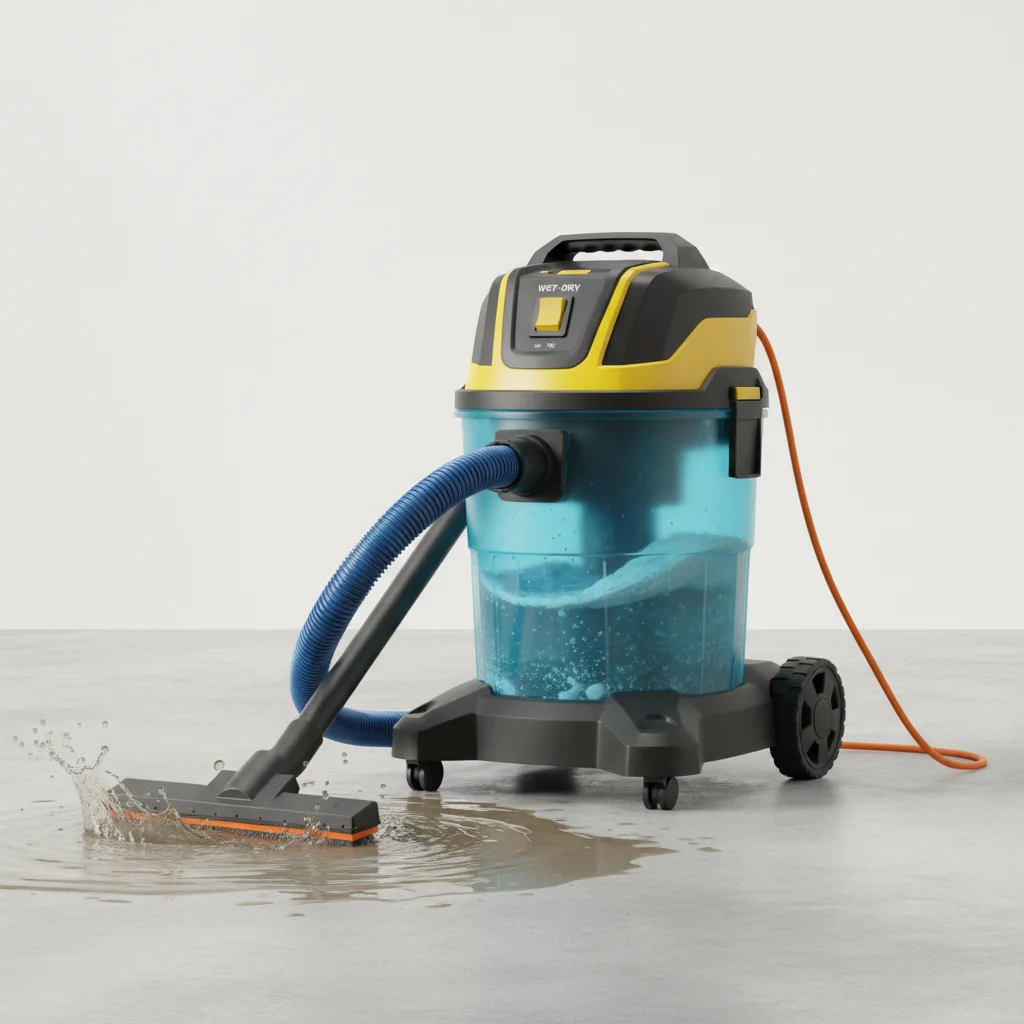
When facing water damage, a shop vacuum can be an invaluable tool for quick and effective cleanup. Specifically, a wet/dry shop vacuum is designed to handle both liquids and solids, making it ideal for extracting standing water from floors, carpets, and other surfaces. For typical household floods, a shop vacuum with at least a 6-gallon capacity and 4.0 peak horsepower is recommended to efficiently remove water and prevent further damage.
Understanding Your Shop Vacuum’s Capabilities for Water
Not all shop vacuums are created equal when it comes to water removal. It’s crucial to use a wet/dry model, as standard dry-only vacuums can be severely damaged and pose an electrical hazard if used with water. Wet/dry shop vacuums are built with sealed motors and often include a float mechanism that shuts off suction when the tank is full, preventing overflow and motor damage. Always remove the dry filter before vacuuming liquids to avoid clogging and maintain optimal suction.
Preparing for Water Extraction
Before you begin, ensure the area is safe. Turn off any power to the affected zone to prevent electrical shock. Gather necessary safety gear, including rubber gloves and waterproof boots. Position your shop vacuum close to the water source, ensuring the power cord is not in standing water. If the flood is extensive, consider using an extension cord rated for outdoor or wet conditions, but always plug it into a GFCI (Ground Fault Circuit Interrupter) outlet for maximum safety.
Effective Water Removal Techniques
|
Our Picks for the Best Shop Vacuum in 2026
As an Amazon Associate I earn from qualifying purchases.
|
||
| Num | Product | Action |
|---|---|---|
| 1 | Shop-Vac 5985005 6 Gallon Wet/Dry Vacuum, 3.5 Peak HP, 1.25 Inch Diameter x 7 Foot Hose, 6 Foot Cord, Ideal for Home, Garage, and Workshop Cleaning |

|
| 2 | Shop-Vac 5989305 Wet/Dry Vacuum, 5 Gallon, 4.5 Peak HP Stainless Steel Vacuum, 1.25 Inch Diameter x 7 Foot Hose, 6 Ft Cord Length, Ideal for Jobsite, Garage, Car & Workshop |
|
| 3 | Stanley - SL18129 Wet/Dry Vacuum, 4 Gallon, 4 Horsepower, Stainless Steel Tank Silver+yellow |
|
| 4 | DEWALT DXV16PA 16 Gallon Poly Wet/Dry Vac/Acc, 6.5HP Shop Vacuum Wet/Dry for Jobsite/Workshop, Yellow |
|
| 5 | Armor All VO408S 0901 4 Gallon 3 Peak HP Stainless Steel Wet/Dry Vacuum, Orange |
|
| 6 | Vacmaster Wet/Dry Vacuum with Detachable Blower 6 Gallon 5 Peak HP-VBVB611PF 1101 |
|
| 7 | Armor All VBV809 0901 8-Gallon 4.5 Peak HP Wet/Dry Vacuum with Detachable Blower, Orange |
|
| 8 | Shop-Vac 9522205 5 Gallon 5.5 Peak HP Hangup Wet/Dry Vacuum, 1.25 Inch Diameter x 18 Foot Hose, 6 Foot Cord, Wall Mount Included, Ideal for Garage, Workshop & Home |
|
| 9 | Vacmaster VF408 4 Gallon Wet/Dry Vacuum Cleaner with 2-Stage Motor |
|
| 10 | Kärcher Shop Vacuum WD 4, 5.3 Gal, 3.8 Peak HP, 33 ft Reach, Wet Dry Vacuum Cleaner, Heavy Duty, Blower Function, Crevice Tool, Floor Nozzle, Great for DIY Projects and Workshops |
|
Start by vacuuming the deepest areas of standing water first. Move the nozzle slowly and steadily to allow the vacuum to draw in as much water as possible. For larger areas, work in sections, overlapping your passes slightly to ensure thorough removal. Empty the shop vacuum’s tank frequently to maintain strong suction and prevent it from becoming too heavy to move. Many wet/dry vacuums have a drain port at the bottom for easy emptying, which is much more convenient than lifting the entire unit.
- Remove the dry filter before vacuuming any liquids.
- Ensure the power cord is plugged into a GFCI outlet.
- Empty the tank regularly to maintain suction and prevent overflow.
- Work in small, overlapping sections for comprehensive water removal.
- Consider using a squeegee attachment for large, flat surfaces.
Post-Extraction Steps and Drying
Once the bulk of the water has been removed, the drying process begins. Use fans, dehumidifiers, and open windows to promote air circulation and reduce humidity. This step is critical to prevent mold growth and further damage. Continue to monitor the area for any lingering moisture. For persistent dampness, a second pass with the shop vacuum a few hours later can be beneficial. Remember, thorough drying is just as important as water extraction.
For heavy-duty water damage cleanup, consider a shop vacuum with a larger tank capacity and higher horsepower. Theis an excellent choice for its robust performance and durable construction, making it suitable for significant flood events. For smaller spills or routine wet cleanup, theoffers great portability and efficiency.
Maintenance After Water Cleanup
After using your shop vacuum for water damage, it’s essential to clean it thoroughly. Empty and rinse the tank with clean water. Allow all components, including the hose and attachments, to air dry completely to prevent mildew and odors. If you used the vacuum for dirty water, a mild disinfectant can be used to clean the tank. Replace the filter (if applicable) once everything is dry and you’re ready to switch back to dry vacuuming.
