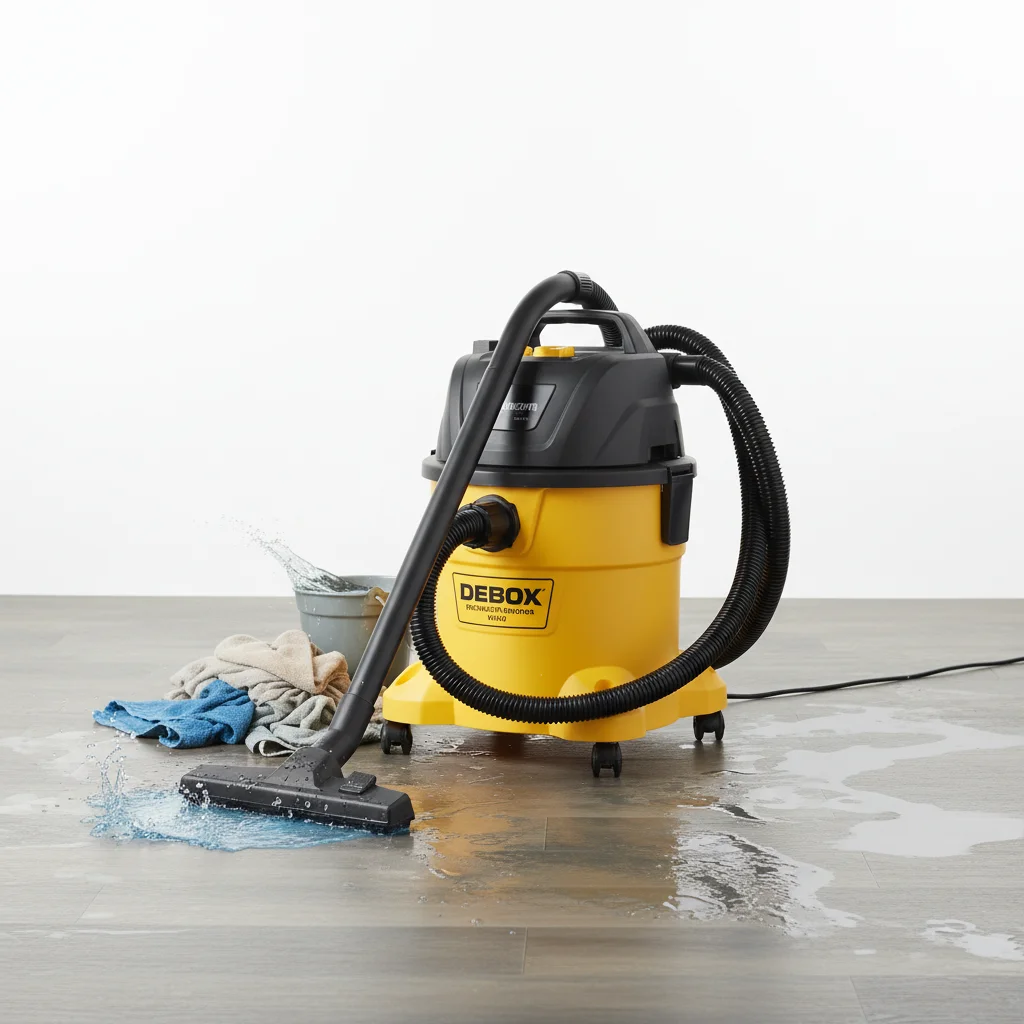
When facing water damage, a shop vacuum is an indispensable tool for quick and effective cleanup. It can remove significant volumes of water, preventing further damage and mold growth. The key is to act swiftly and use the right techniques to ensure thorough water extraction.
Assess the Water Damage and Safety First
Before you begin, always prioritize safety. Identify the source of the water and, if possible, stop it. Turn off electricity to the affected area to prevent electrocution. Wear protective gear, including waterproof gloves and boots. Determine the extent of the water damage; a shop vacuum is most effective for standing water or saturated carpets, not for structural drying.
Prepare Your Shop Vacuum for Wet Pickup
To prepare your shop vacuum for wet pickup, first remove the dry filter. Most shop vacuums require a foam sleeve or a specialized wet filter for water extraction. Ensure the collection tank is empty and securely latched. Attach the widest possible hose and nozzle for maximum efficiency in water removal. If your shop vacuum has a drain plug, ensure it’s closed before starting.
- Remove the dry filter and replace with a foam sleeve or wet filter.
- Empty the collection tank completely.
- Securely latch the motor head onto the tank.
- Attach the widest hose and appropriate wet nozzle.
- Ensure the drain plug is closed.
Systematic Water Extraction Techniques
|
Our Picks for the Best Shop Vacuum in 2026
As an Amazon Associate I earn from qualifying purchases.
|
||
| Num | Product | Action |
|---|---|---|
| 1 | Armor All VO408S 0901 4 Gallon 3 Peak HP Stainless Steel Wet/Dry Vacuum, Orange |

|
| 2 | Shop-Vac 9522205 5 Gallon 5.5 Peak HP Hangup Wet/Dry Vacuum, 1.25 Inch Diameter x 18 Foot Hose, 6 Foot Cord, Wall Mount Included, Ideal for Garage, Workshop & Home |
|
| 3 | DEWALT DXV16PA 16 Gallon Poly Wet/Dry Vac/Acc, 6.5HP Shop Vacuum Wet/Dry for Jobsite/Workshop, Yellow |
|
| 4 | Shop-Vac 5989305 Wet/Dry Vacuum, 5 Gallon, 4.5 Peak HP Stainless Steel Vacuum, 1.25 Inch Diameter x 7 Foot Hose, 6 Ft Cord Length, Ideal for Jobsite, Garage, Car & Workshop |
|
| 5 | Stanley - SL18129 Wet/Dry Vacuum, 4 Gallon, 4 Horsepower, Stainless Steel Tank Silver+yellow |
|
| 6 | Shop-Vac 5985005 6 Gallon Wet/Dry Vacuum, 3.5 Peak HP, 1.25 Inch Diameter x 7 Foot Hose, 6 Foot Cord, Ideal for Home, Garage, and Workshop Cleaning |
|
| 7 | Vacmaster VF408 4 Gallon Wet/Dry Vacuum Cleaner with 2-Stage Motor |
|
| 8 | Armor All VBV809 0901 8-Gallon 4.5 Peak HP Wet/Dry Vacuum with Detachable Blower, Orange |
|
| 9 | Kärcher Shop Vacuum WD 4, 5.3 Gal, 3.8 Peak HP, 33 ft Reach, Wet Dry Vacuum Cleaner, Heavy Duty, Blower Function, Crevice Tool, Floor Nozzle, Great for DIY Projects and Workshops |
|
| 10 | Vacmaster Wet/Dry Vacuum with Detachable Blower 6 Gallon 5 Peak HP-VBVB611PF 1101 |
|
Begin vacuuming water from the perimeter of the affected area and work your way inward. This helps to contain the water and prevent it from spreading further. For large puddles, use a squeegee attachment if available to push water towards the vacuum nozzle. Empty the shop vacuum’s tank frequently to maintain optimal suction power. Dispose of the collected water properly, ideally down a drain.
For saturated carpets, press down firmly with the nozzle to extract as much water as possible. You may need to go over the same area multiple times. Consider using a carpet extractor attachment if your shop vacuum supports it for deeper cleaning.This will help lift more moisture from the fibers.
Drying and Dehumidification After Water Removal
After removing all standing water, the next critical step is to dry the area thoroughly. Use fans, dehumidifiers, and open windows (if outdoor humidity is low) to promote air circulation and reduce moisture. The goal is to dry the affected area within 24-48 hours to prevent mold growth. Monitor humidity levels with a hygrometer to ensure effective drying.
Final Steps and Preventing Future Water Damage
Once the area is dry, clean and sanitize any surfaces that came into contact with water to eliminate bacteria and odors. Inspect for any lingering moisture or signs of mold. Address the source of the water damage to prevent future occurrences. This might involve repairing leaky pipes, sealing cracks, or improving drainage. Regularly check your home for potential water intrusion points.Investing in a reliable shop vacuum can save you significant time and money in the event of unexpected water damage.
